New cottage china collection

My new china collection has is now available online!
This range was inspired by cottage life in the English countryside and features garden scenes with Chester the dog having a picnic, hedgehogs and hares at the garden shed. And  also sewing box scenes with swallows and naughty little mice who love to steal wool.
Includes gorgeous printed packaging.

Garden mugs £18.50
Sewing mugs £18.50
Set of 4 garden stacking mugs £22.50
Sewing tea for two set £22.50


Bee happy

Bumble bees are everywhere this season. From fashion prints to wallpapers, bee prints are the latest trend taken to the high street. Even I am hooked on these cute little insects, my bee illustrations can be found in my latest collection for Debenhams on cushions, coasters, cup and saucers, embroidery hoops and magnet boards. Maybe this focus reflects concerns over the welfare and future of global bee populations. I hope our buzzy little friends have a better summer this year!


Cushion £22
Other images above from...
Modcloth
Farrow & Ball
Natutal history
House of Hackney

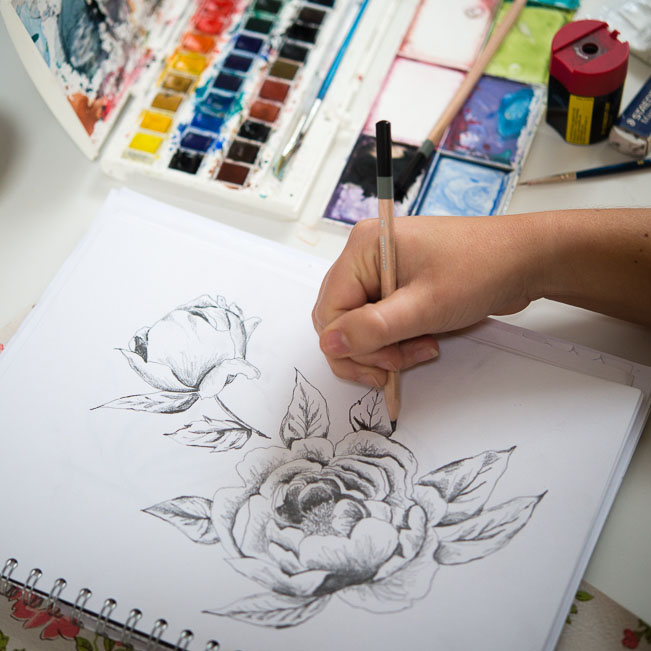
SS14 Sketchbook

 Here some Sketchbook snapshots from My at home spring 2014 collection for Debenhams which has started to appear online, very exciting!


Magnet board £40
Decorative hoop £12
Tray £10
Picture £28
Exclusive to Debenhams

New Russian Doll collection

My Russian doll collection is now available online exclusively at Debenhams

I've always been fascinated with Russian dolls. The history and culture behind them and love I the idea of opening one and revealing another smiling face inside. They are whimsical, playful and hand painted in such a beautiful array of colours which started the inspiration for this collection.

With bright colours and pretty folk florals and patterns this collection is perfect for adding a quirky touch to your home. This collection includes kitsch storage jars, stackable mugs and an adorable tea for one.
Set of three dishes £20
Stacking mugs £20
Tea for one £20
Money Box £18
Storage jar £24
Debenhams.com

Recipe: Chocolate & Pistachio Brownies


You'll need...
250g butter
500g caster sugar
100g cocoa powder
100g Self-raising flour
4 beaten eggs
200g Glacé cherries
150g pistachio nuts

To make...
Place the butter, sugar and cocoa in a
saucepan over a gentle heat and stir
until the butter has melted.
Leave the mixture to cool a little.
Beat the eggs into the cocoa mixture.
Stir in the flour really well and then the
pistachios, pour into a prepared tin.
Bake in a preheated oven at 180oC for
around 30 mins, take care not to overcook them
they should be fudgy rather than cake like.
Leave to cool and cut into squares.

Follow me on Instagram to see what else I'm up to in my kitchen!

How to: Cat tipi

DIY
If you are a little bit crafty and a cat lover like me, you are going to love this project from Boat People!  This cat tipi is a simple DIY project for your kitty cat.  All you’ll need one yard of fabric and 5 sticks of wood!  I made one for my cat Rex and he love’s it!

You'll need:
  • 1 yard fabric
  • 5 sticks of 2″ 1/2 each
  • Leather cord
  • one safety pin
  • a cushion
 For the full video tutorial click here

Happy New Year!

Happy new year! Enjoy an exclusive 20% off everything on my online shop until 31st Jan when you sign up to my mailing list: Click Here to sign up and receive your discount code!


How to: wallpaper stairs

DIY

Happy new year everyone! I've started 2014 with a little bit of DIY to brighten up my stairs. It was really easy to do and adds personality to your home. Here's how to do it yourself....

You will need:

  • Tape measure
  • Pencil
  • Ruler
  • Thick card for template
  • A craft knife and board
  • Vintage wallpapers
  • PVA glue and brush
  • Clear satin varnish

Measure one of the risers in the middle of the staircase and use the dimensions to create a card template using a craft knife and board. Check that this fits on all the steps – the first and last often vary slightly.
On the back of your wallpaper, draw around the template, then cut out the pieces. Measure and cut out any risers that vary from the template.
Make sure the stairs are free of dust, then paint one riser at a time with a thin layer of PVA glue and smooth the paper in place. Push out any air bubbles or creases towards the edge of the stairs. Pay particular attention to the edges, ensuring that they are glued in place.
Wait until the glue is totally dry, about 24 hours, then cover the surface of each riser with a light coat of clear satin varnish to protect the paper.

Here's the finished stairs